Windows Server 2016 is reaching the end of its extended support window in 2027. Upgrading to a newer version, like Windows Server 2019/2022, ensures continued security updates, bug fixes, and improved performance. This guide outlines the best practices for navigating the upgrade process, offering both in-place and fresh installation options.
In this article
Choosing the Right Path to Windows Server 2016:
- In-place Upgrade: Fast and convenient, preserves settings and data (limited to two versions at a time). Requires compatibility checks and poses potential risks.
- Fresh Installation: Offers a clean slate and greater flexibility, but necessitates manual data and application migration. More time-consuming and requires downtime.
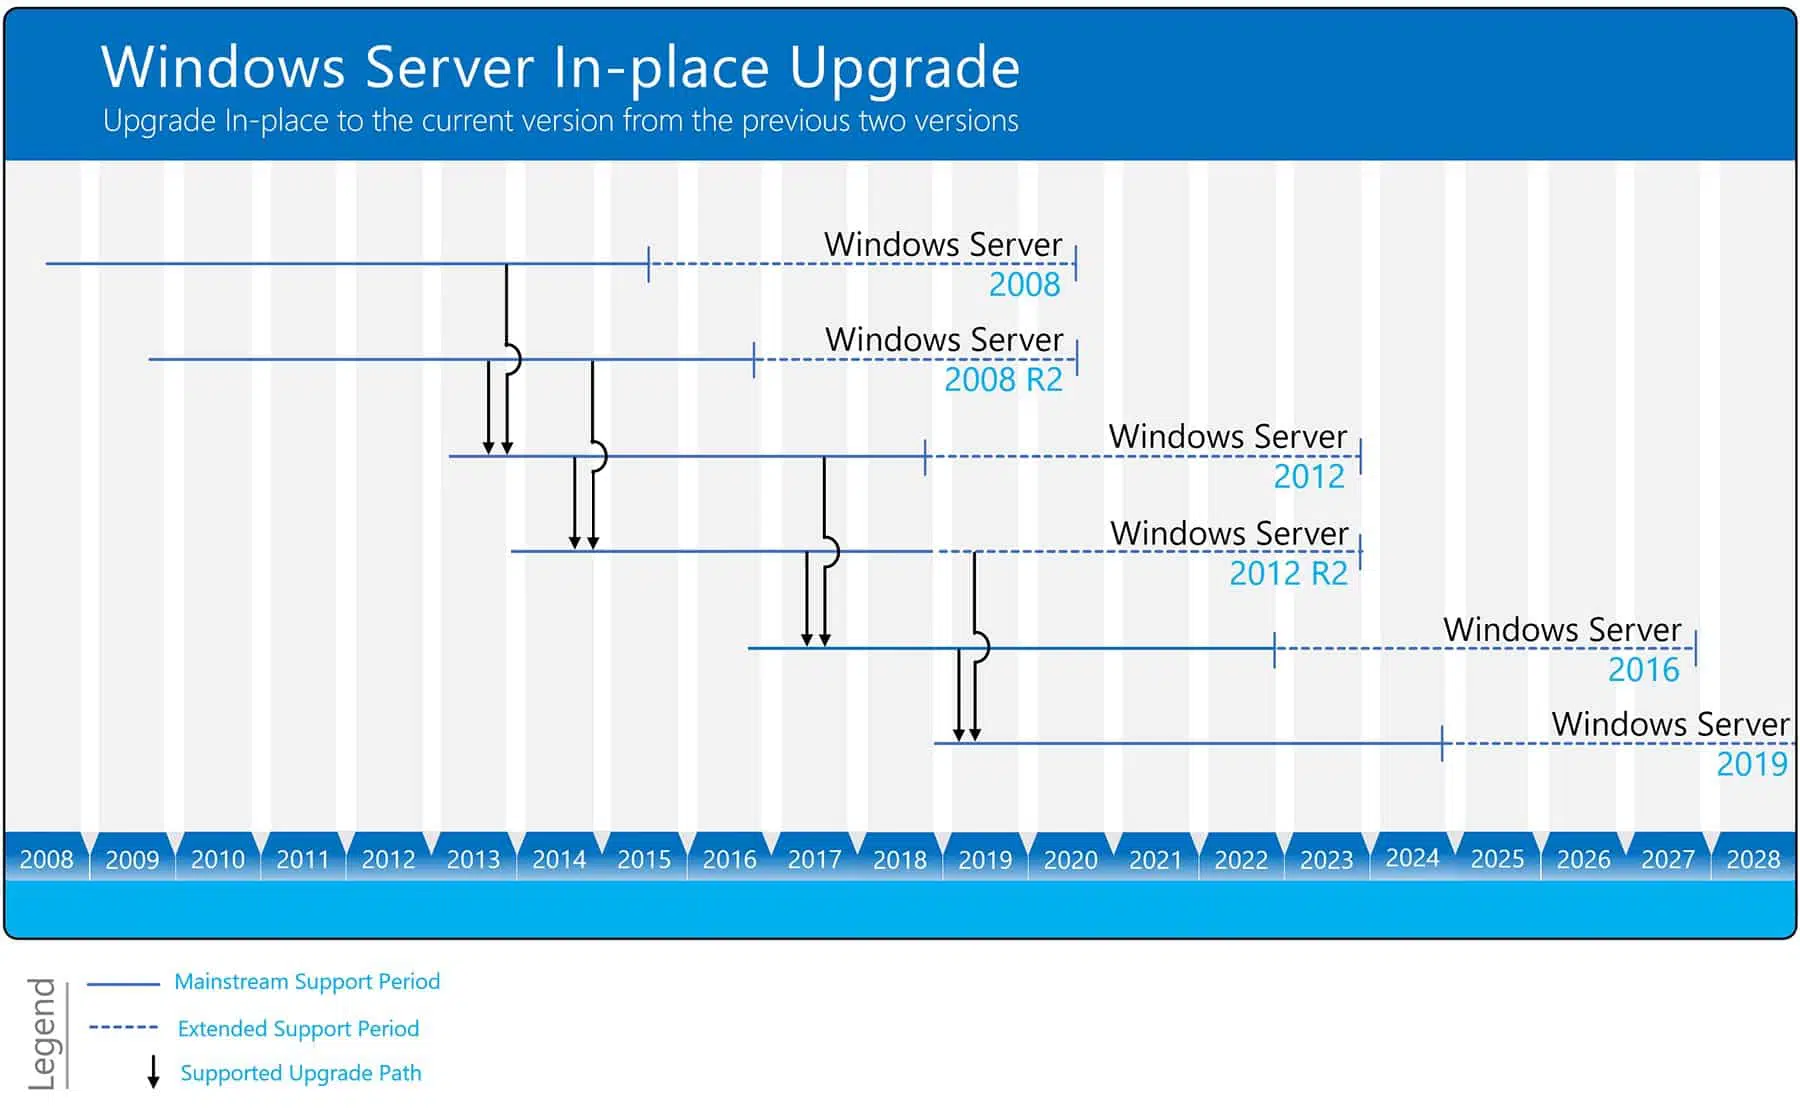
Best Practices for Both Options:
1. Compatibility Checks:
- Hardware: Ensure your hardware meets the system requirements for your chosen upgrade path. Refer to Microsoft’s official documentation for details.
- Software: Verify compatibility of your applications and third-party software with the newer version. Consult vendor websites or perform test installations.
2. Backups & Snapshots:
- Create complete backups of your entire system, data, and applications before proceeding. Consider cloud-based or offsite backup solutions for added security.
- For virtual machines, create snapshots in case of rollback needs.
3. Thorough Planning & Documentation:
- Plan the upgrade process meticulously, considering downtime impact, rollback procedures, and post-upgrade configuration changes.
- Document every step, including compatibility checks, chosen upgrade path, specific commands, and potential roadblocks encountered.
4. Test Environments:
- If possible, set up a test environment to simulate the upgrade process and identify potential issues before proceeding on your production server.
5. Upgrade During Off-Peak Hours:
- Minimize disruption by scheduling the upgrade during off-peak hours or low-traffic periods. Notify affected users beforehand.
6. Post-Upgrade Monitoring:
- Closely monitor your server’s performance, resource usage, and event logs after the upgrade to identify any unexpected issues.
In-place Upgrade Step by Step to 2019
- Download the Windows Server 2019 ISO file / Windows Server 2022 ISO file from Microsoft.

- Before start installation check current windows version
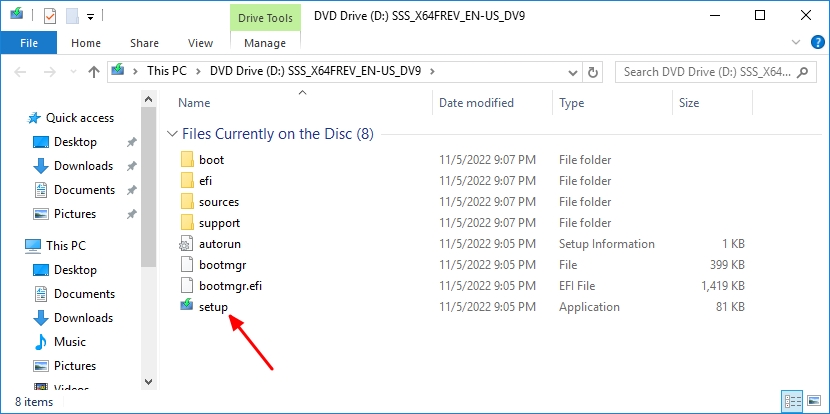
- Locate the Windows Server 2019 setup media, run setup.exe directly.
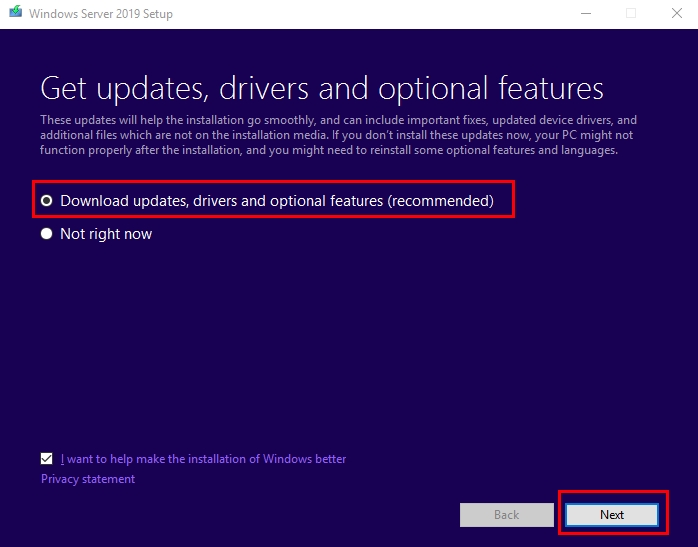
- Select Download updates, drives and optional features (recommended) and click Next.
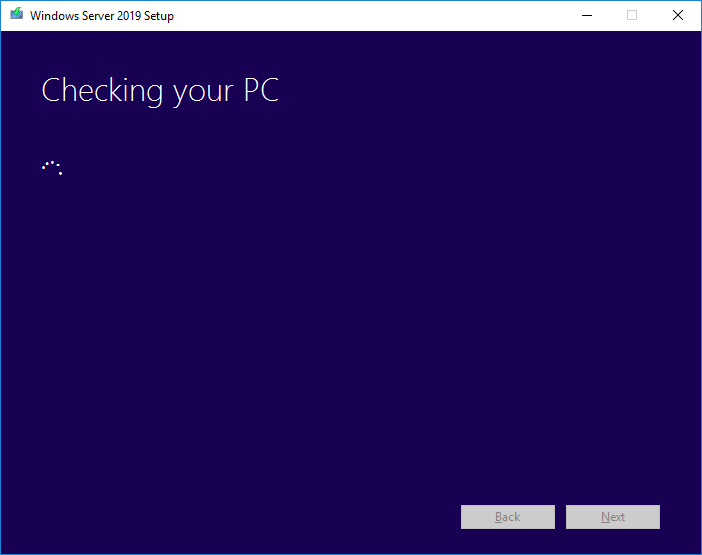
- Setup checks your device configuration, you must wait for it to finish, and then select Next.
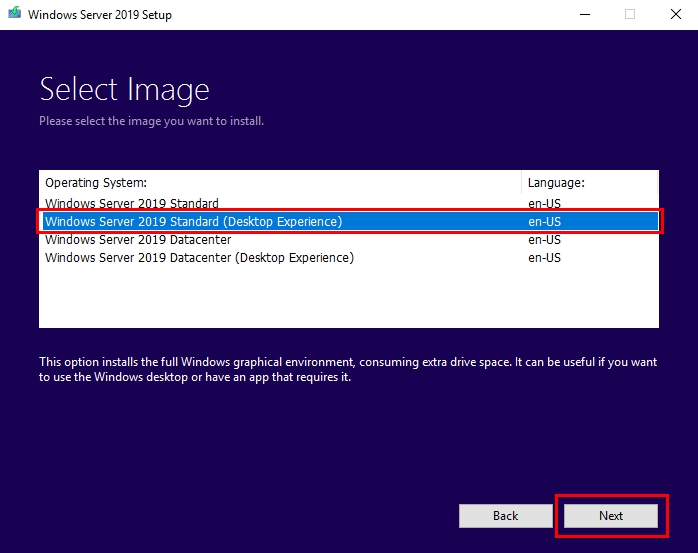
- Select the version of Windows Server 2019 you want to install and click Next.
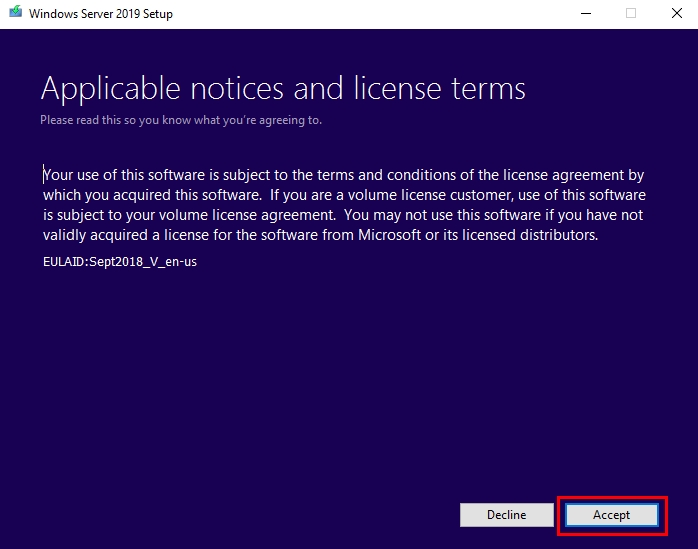
- the license agreements often appear different. Click Accept
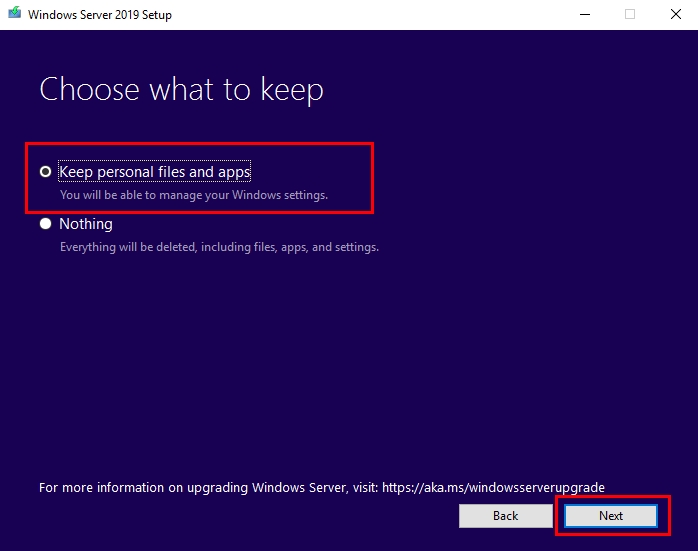
- Accept the terms and then select Keep personal files and apps to choose to do an in-place upgrade, and then select Next.
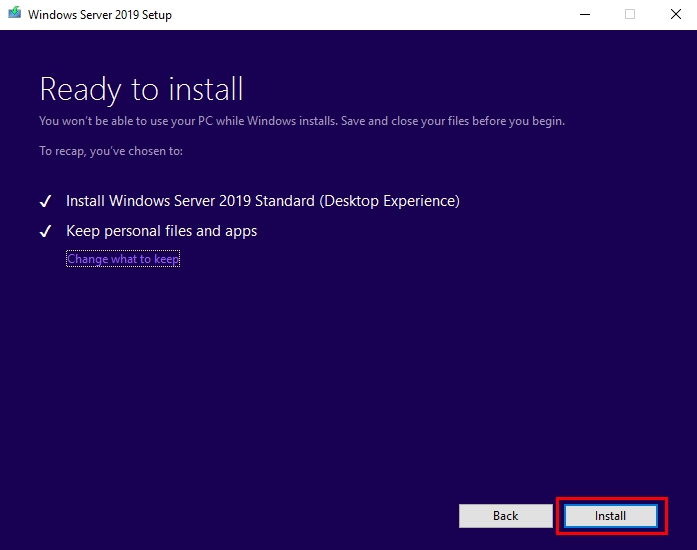
- After Setup analyzes your device, it will prompt you to proceed with your upgrade by selecting Install.
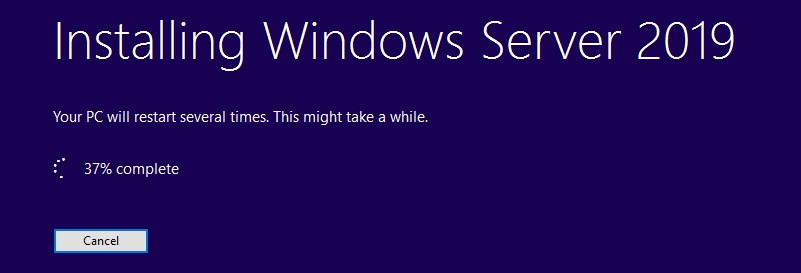
- Then upgrade Windows Server 2016 to 2019 for will begin. After the upgrade is complete, your server will restart.
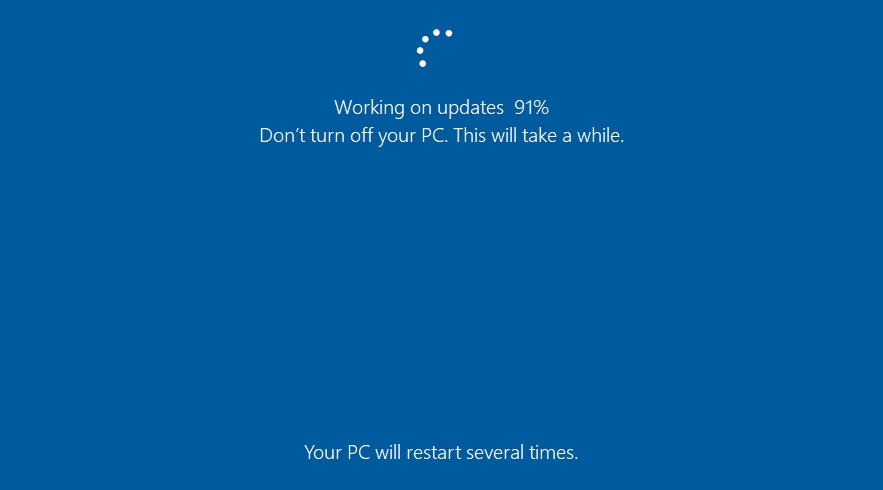
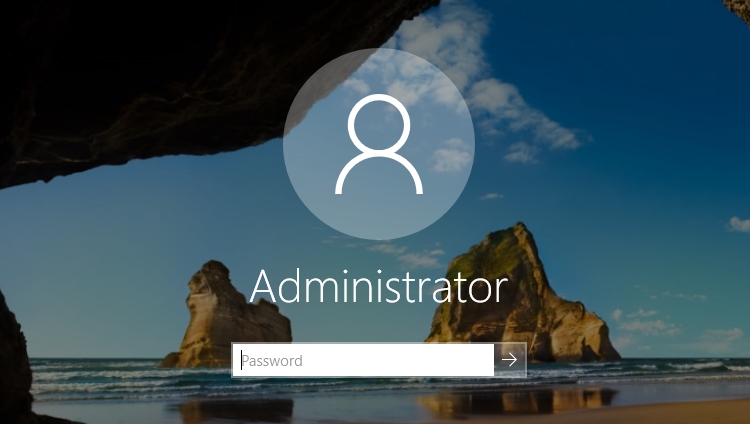

Conclusion:
Upgrading Windows Server 2016 requires careful planning and execution. By following these best practices, you can minimize risks and ensure a smooth transition to a more secure, performant, and feature-rich server environment. Remember, the chosen path (in-place or fresh installation) depends on your specific needs and resources. Weigh the pros and cons of each option carefully before making a decision. For additional resources and detailed instructions, refer to Microsoft’s official documentation linked within this guide.
Helpful Resources:
- Upgrade and conversion options for Windows Server
- Perform an in-place upgrade of Windows Server
- Windows Server 2019 Lifecycle
- Windows Server 2022 Lifecycle
- Hardware requirements for Windows Server
I hope this information helps you decide on the best approach for upgrading from Windows Server 2016.


