In this article
Prerequisite to Install Windows Server 2016 Desktop Experience
The processor requirements for this product:
Minimum:
- 1.4 GHz 64-bit processor
- Compatible with x64 instruction set
- Supports NX and DEP
- Supports CMPXCHG16b, LAHF/SAHF, and PrefetchW
- Supports Second Level Address Translation (EPT or NPT)
The estimated RAM requirements for this product:
Minimum:
- 512 MB (2 GB for Server with Desktop Experience installation option)
- ECC (Error Correcting Code) type or similar technology, for physical host deployments
The estimated minimum disk space requirements for the system partition.
Minimum: 32 GB
Network adapters used with this release should include these features:
Minimum:
- An Ethernet adapter capable of at least 1 gigabit per second throughput
- Compliant with the PCI Express architecture specification.
- (KDNet) is useful, but not a minimum requirement.
- (PXE) is useful, but not a minimum requirement.
Computers running this release also must have the following:
- DVD drive (if you intend to install the operating system from DVD media)
The following items are only required for certain features:
- UEFI 2.3.1c-based system and firmware that supports secure boot
- Trusted Platform Module
- Graphics device and monitor capable of Super VGA (1024 x 768) or higher-resolution
- Keyboard and Microsoft mouse (or other compatible pointing device)
- Internet access (fees may apply)
Download the ISO file of the Windows Server 2016 operating system and put it on USB or burn it to CD/DVD.
How-to: Installing Windows Server 2016 steps
1- During the boot process, you may need to enter the BIOS or UEFI settings to change the boot order to prioritize the DVD or USB drive.
2- Plug the Windows Server 2016 boot drive (DVD, USB) to the computer and boot your computer. once black screen appear Press any Key to book from CD or DVD

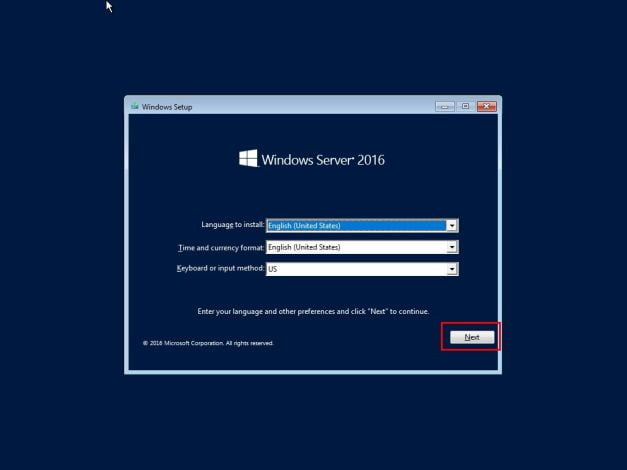
3– Once the server reboots, it will start the installation process. select your language, time format and keyboard then click on Next button.
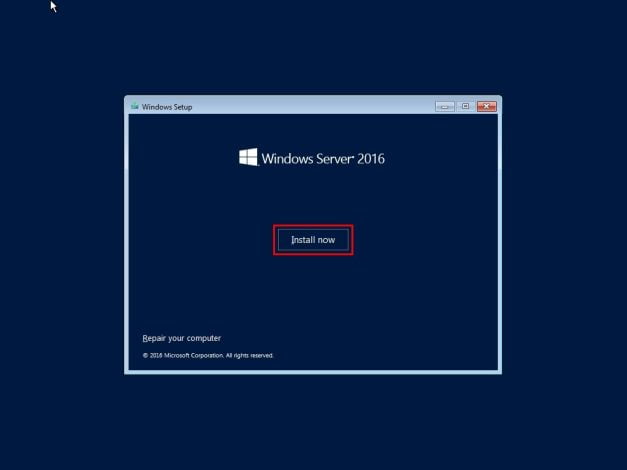
4– Click on the “Install Now” button to start the installation.
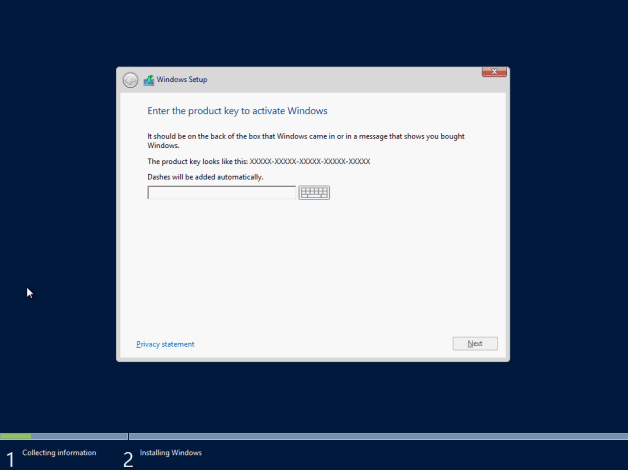
5– Enter the product key for Windows Server 2016
6– Select the edition of Windows Server 2016 you want to install, such as Standard or Datacenter, and click “Next“.
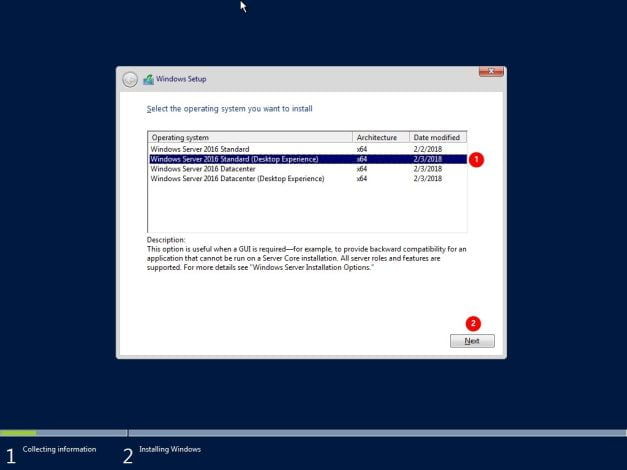
Windows Server 2016 Standard or Windows Server 2016 Datacenter will install without a desktop experience (Without GUI ). This was previously known as Server Core.
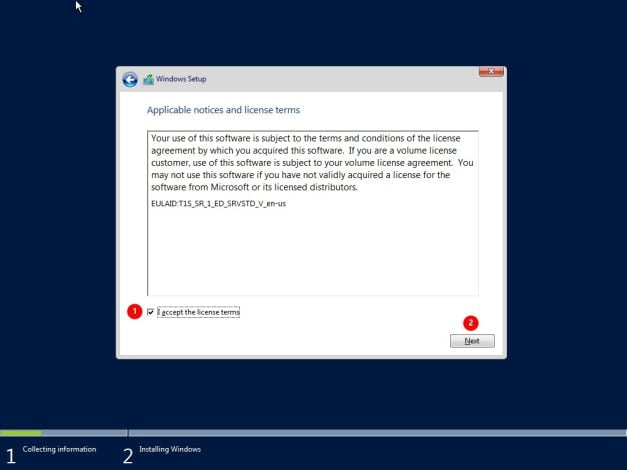
7– Read and Check “I accept the licensees terms” and click on Next button.
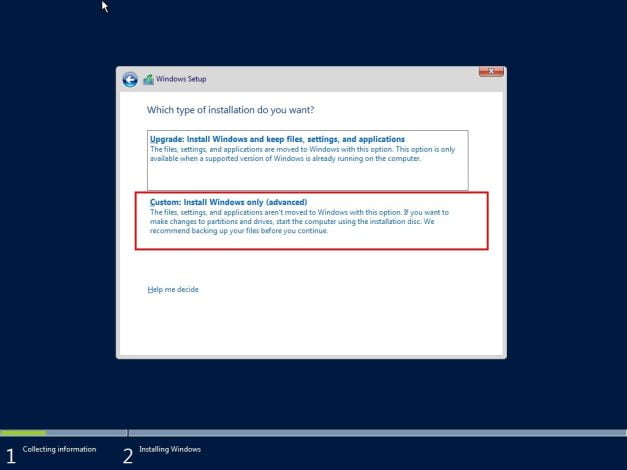
8– We make clean install, so we choose second option Custom: Install Windows only (advanced)
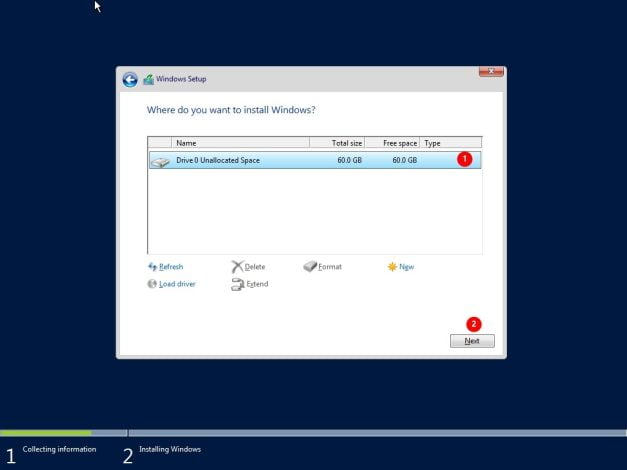
9– Select the drive where you want to install Windows Server 2016. You may need to create or format partitions if required After selecting the drive, click “Next” to start the installation process. The installation may take some time
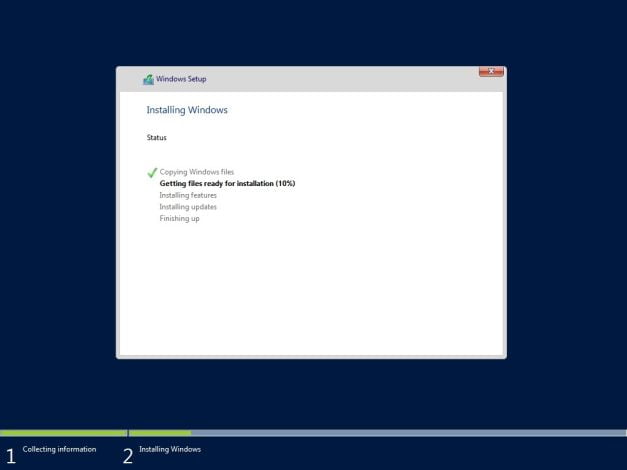
10– Once the installation is complete, the server will restart.
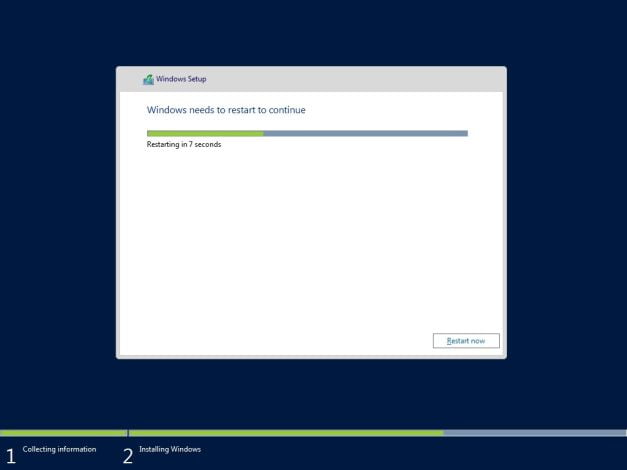
11- You may see this message, don’t touch anything and wait and remove boot media

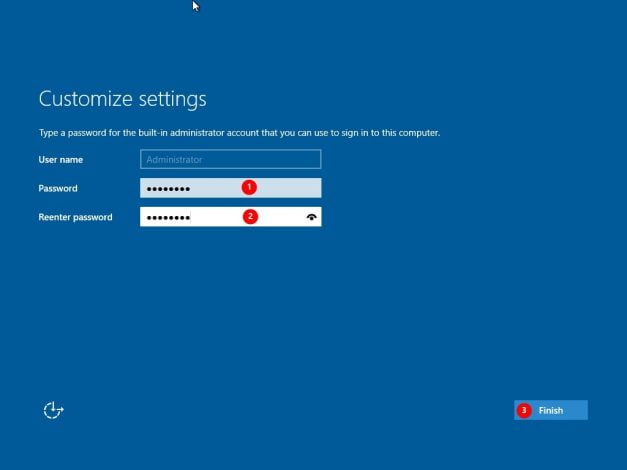
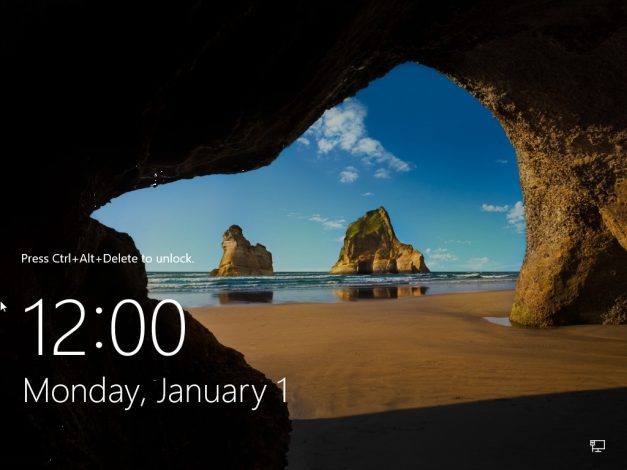
12– After the restart, you will be prompted to set the password for the Administrator account. Enter a strong password and click “Finish“
Initial configuration
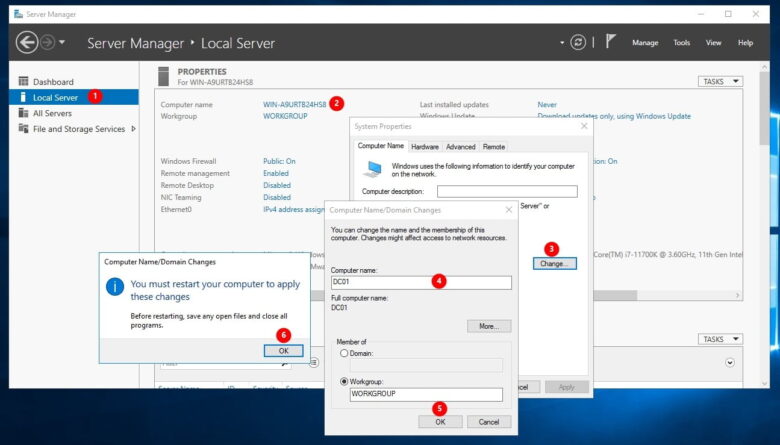
1- Change Computer name

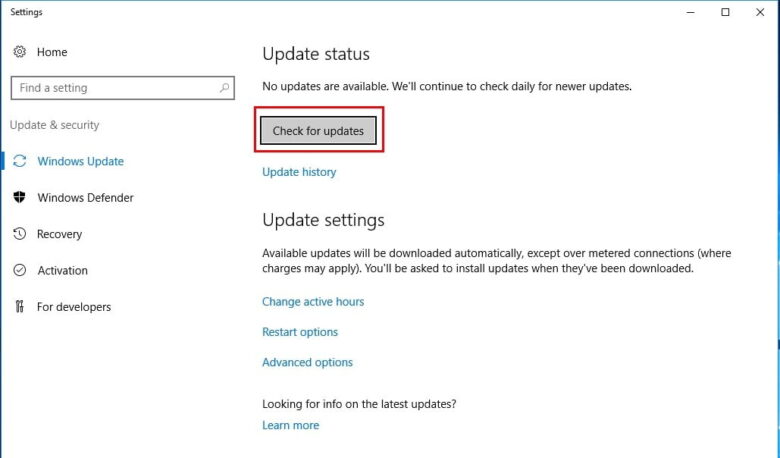
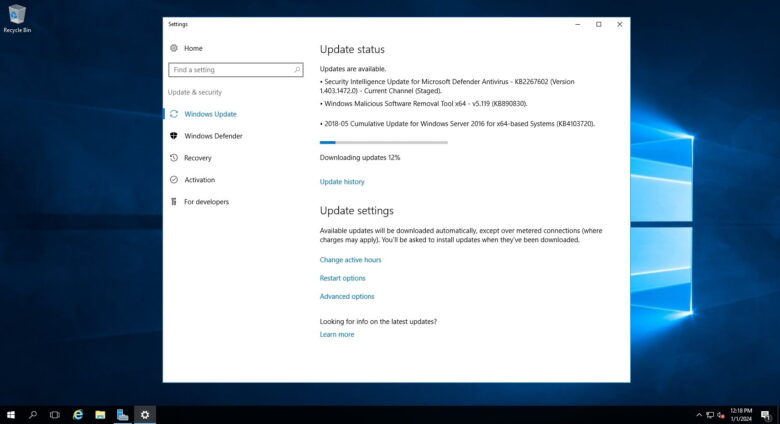
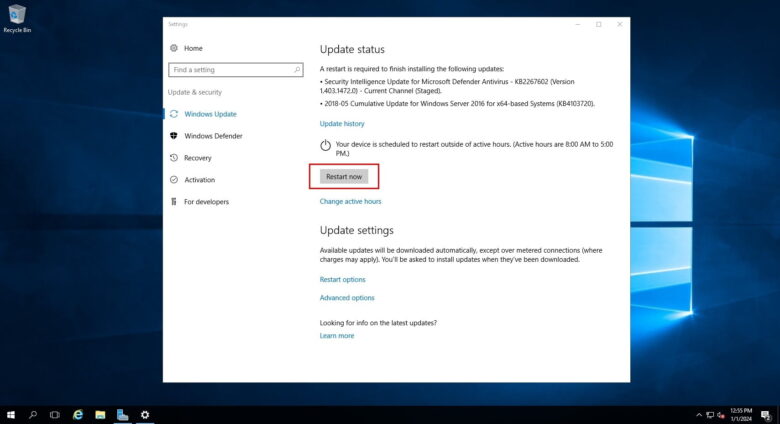
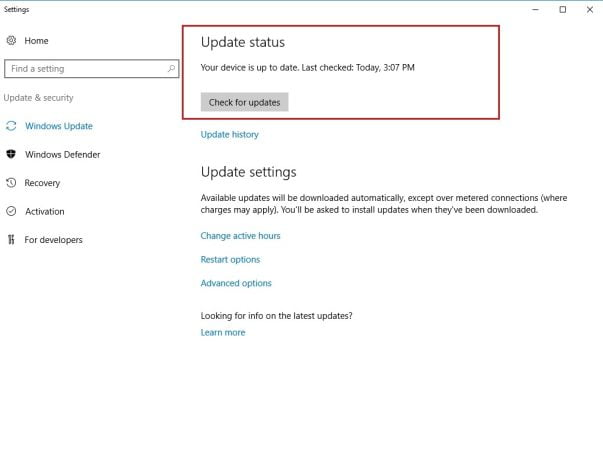
2- Check for windows update
Thanks for reading and follow us
