
Prerequisite to Install and Configure VMware ESXi 7.0
- Requires a host with at least two CPU cores.
- supports a broad range of multi-core of 64-bit x86 processors
- Supports NX/XD bit to be enabled for the CPU in the BIOS
- (Intel VT-x or AMD RVI) must be enabled on x64 CPUs
Minimum : 4 GB
Recommend : at least 8 GB of RAM to run virtual machines in typical production environments
Minimum : 32 GB
Recommend : 128 GB of storage space available.
Minimum : one Network interface card (NIC) for each server. NIC that supports advanced features such as jumbo frames, TCP/IP offloading, and VLAN tagging.
Recommended : to use at least Tow (NIC) for each server.
for High Availability, Fault Tolerance, Load balance, vMotion
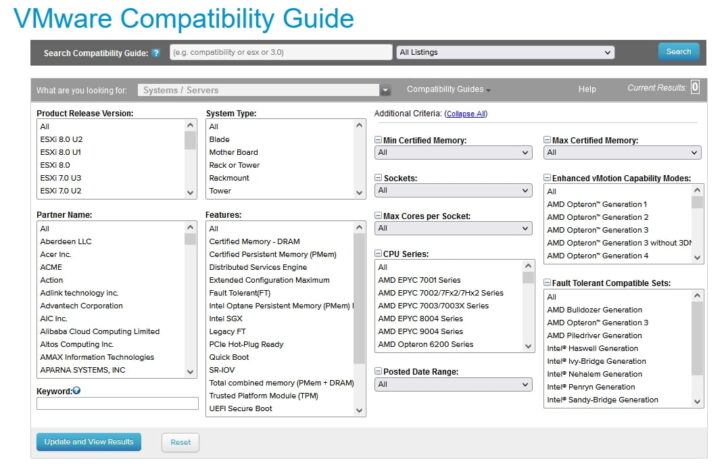
Check the CPU model in the VMware Compatibility Guide
You can check the CPU by going to the compatibility page .
Download the ISO file of the VMware ESXi 7.0 and put it on USB or burn it to CD/DVD.
How-to: Install and Configure VMware ESXi 7.0 steps
After downloading ISO file, burn the ISO image in a CD or DVD or USB
- We use VMware-VMvisor-Installer-7.0U3l-21424296.x86_64.iso
- If you have servers from vendors such as DELL or Hewlett Packard, you may need the customized ESXi installation images such as
VMware-VMvisor-Installer-7.0.0.update03-20842708.x86_64-Dell_Customized-A10.iso
2- Insert the VMware ESXi 7 installation disk and start the Computer. Then, VMware ESXi 7 Installer starts and reads files from the disk
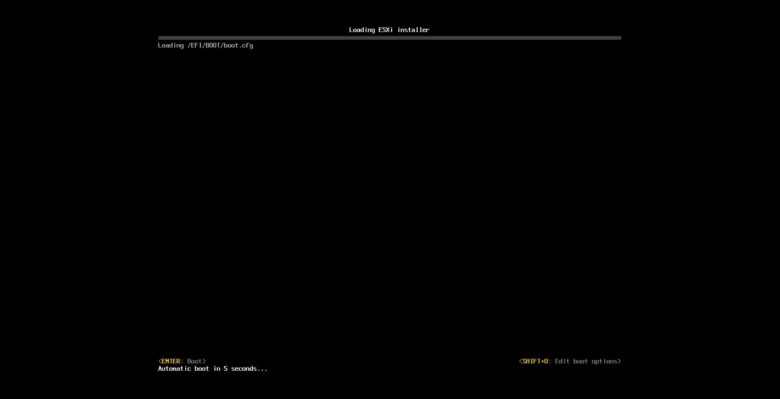
3– let the ESXi installer load
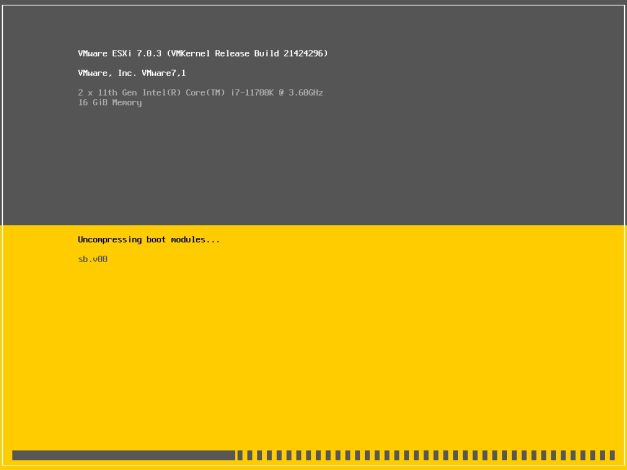
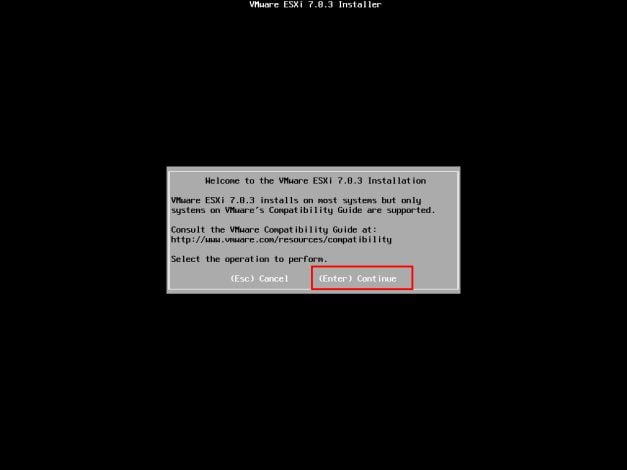
4– in welcome screen Press [ Enter ]key to continue the ESXi 7.0 installation
5– Press [F11] to accept the End User License Agreement to continue
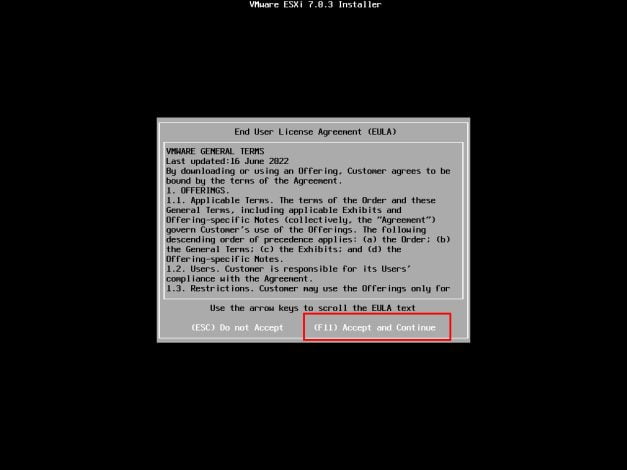
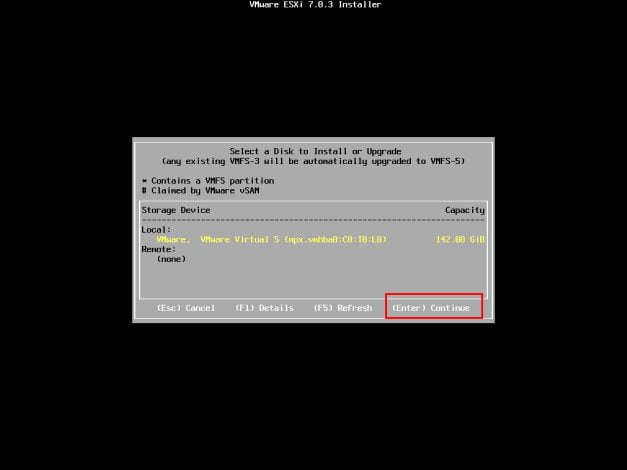
6– Choose the hard disk to install ESXi server 7.0 and press [Enter] key
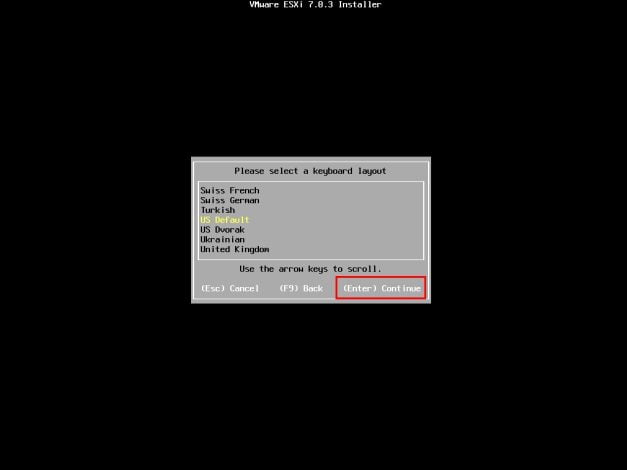
7– Select a keyboard layout you are using and press the [Enter] key to proceed to the next
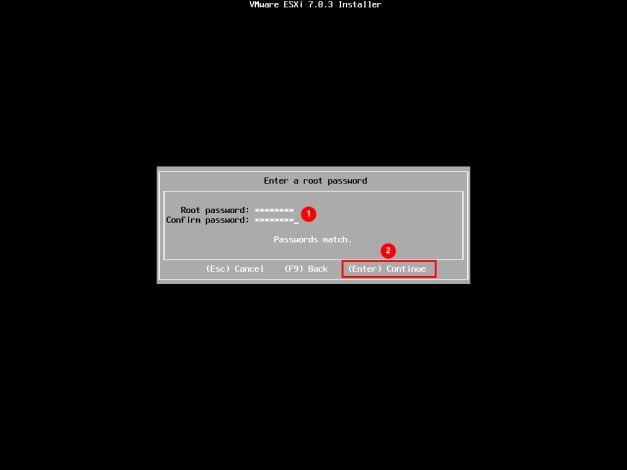
8– insert a root password and confirm and press the [Enter] key to proceed to the next
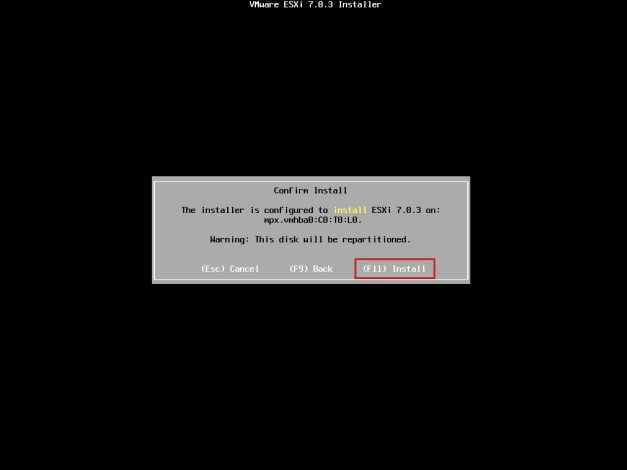
9– Press [F11] key to confirm the ESXi server 7.0 installation
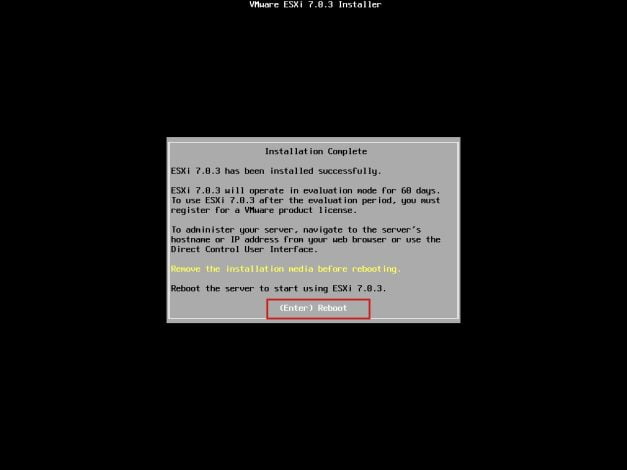
10– Installation Complete. When you see this screen, it means that ESXi 7.0 has been installed successfully, remove installation media and press the [Enter] key to restart the computer
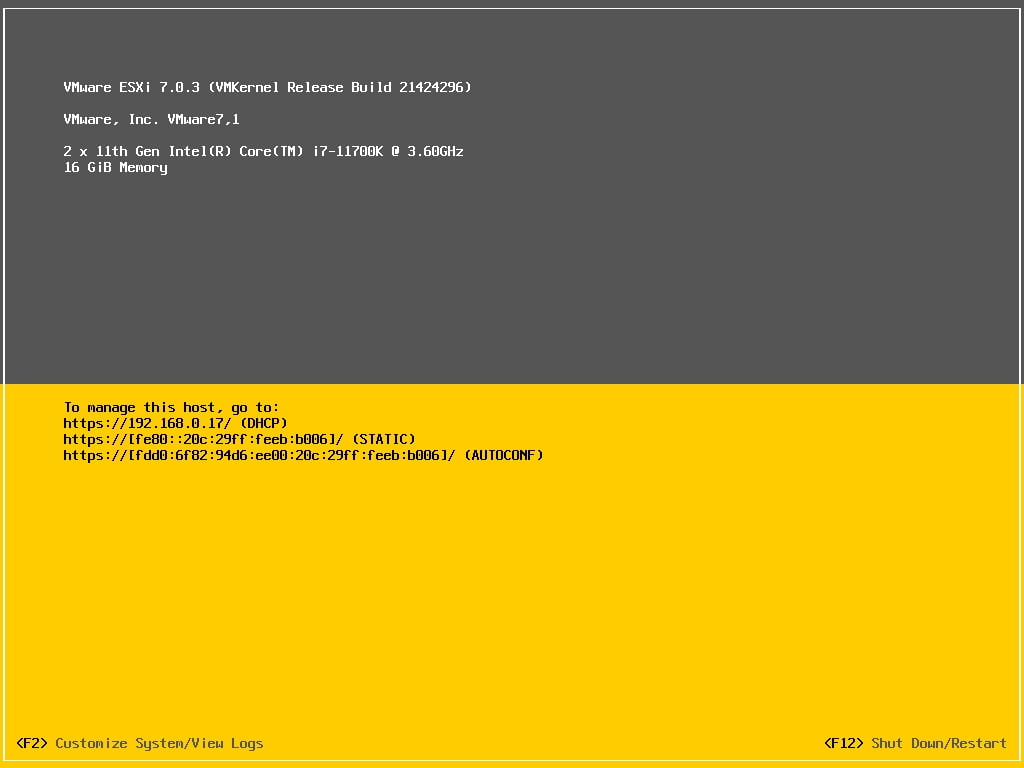
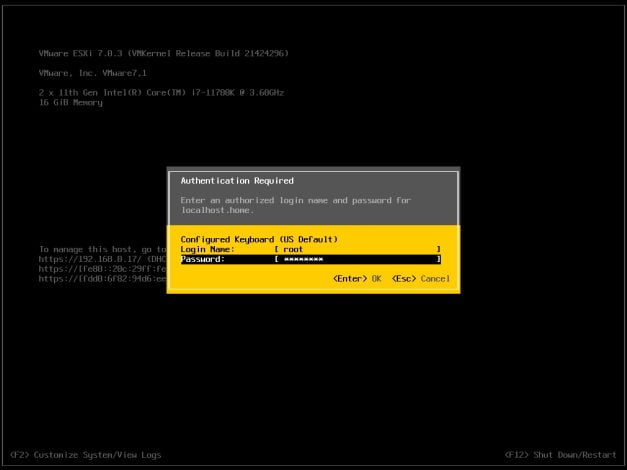
11- After restarting the computer, the VMware ESXi 7 default console window is shown. . press [F2] key, and Verify installation to log in with the root user account
Initial Host Configuration
1- To configure IPv4 address, subnet mask, and default gateway of the ESXi 7.0
- 1- Press [F2] key and enter the previously given root password
- 2- select Configure the Management Network and press [Enter] Key
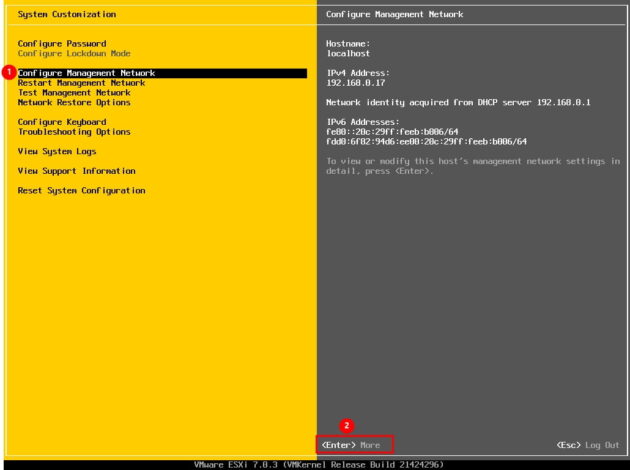
- 3- Select the IPv4 configuration to change the IP address and press [Enter] Key
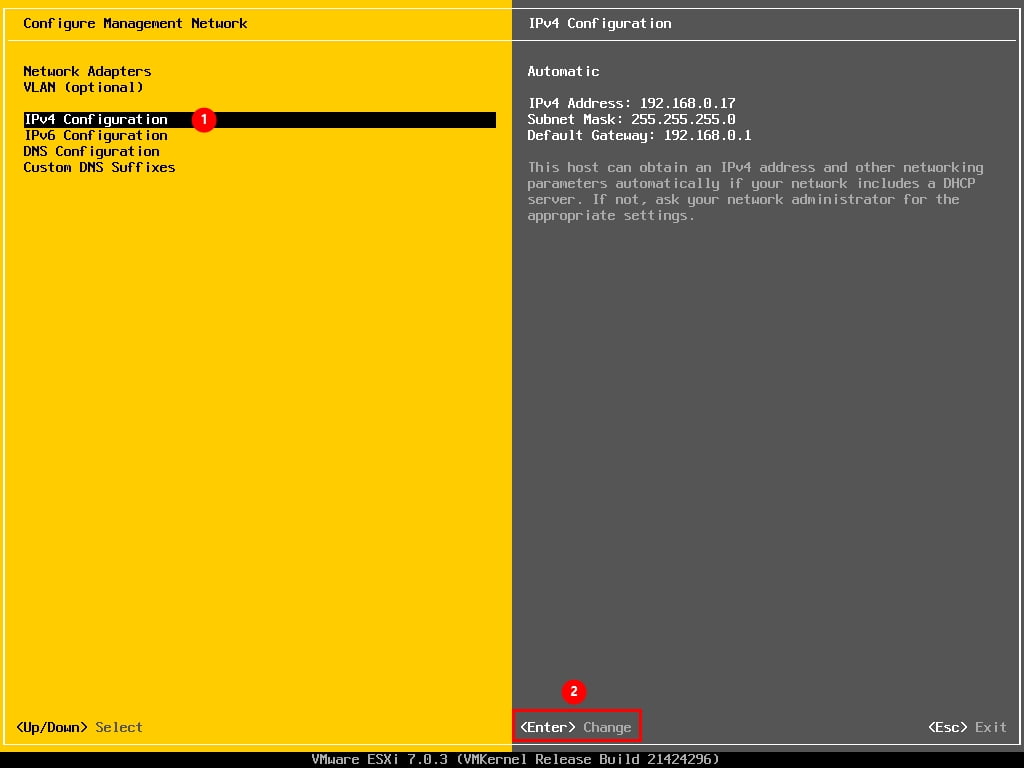
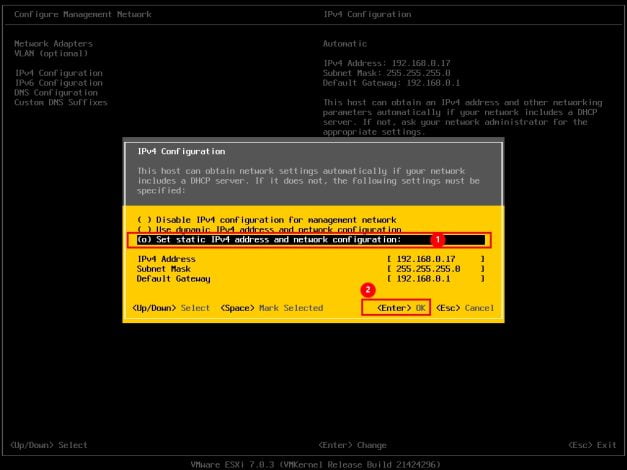
- 4- Use the arrow keys to select Set static IPv4 address and network configuration and then enter the IPv4 address, subnet mask, and default gateway in the respective fields.
- 5- Press [ENTER] when finished to apply the new management network settings
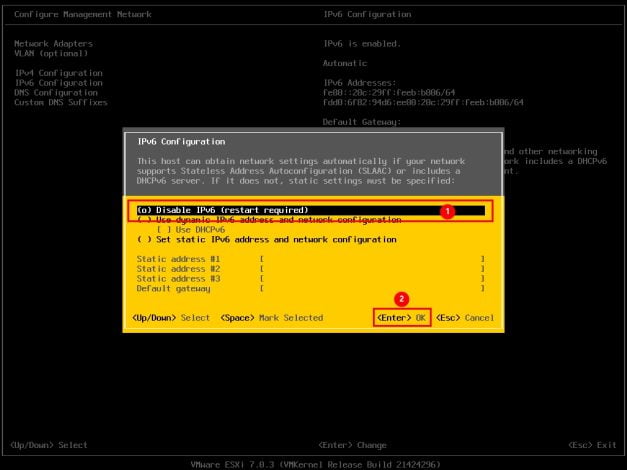
2- To disable IPv6 of the ESXi 7.0
- 1- Select the IPv6 configuration to change the IP address and press [Enter] Key
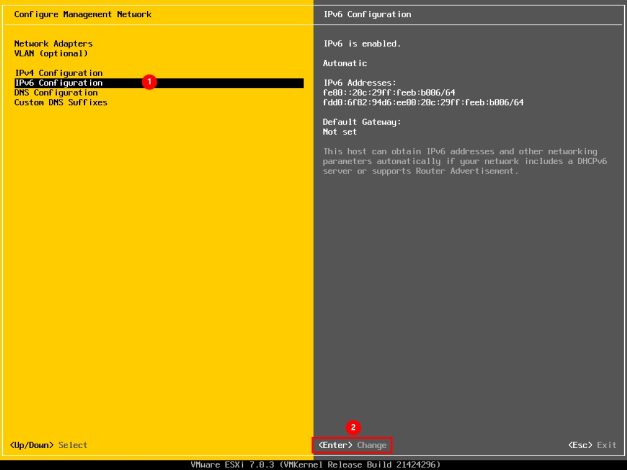
- 2- Use the arrow keys to select Disable IPv6 and then Press [ENTER] when finished to apply the new management network settings
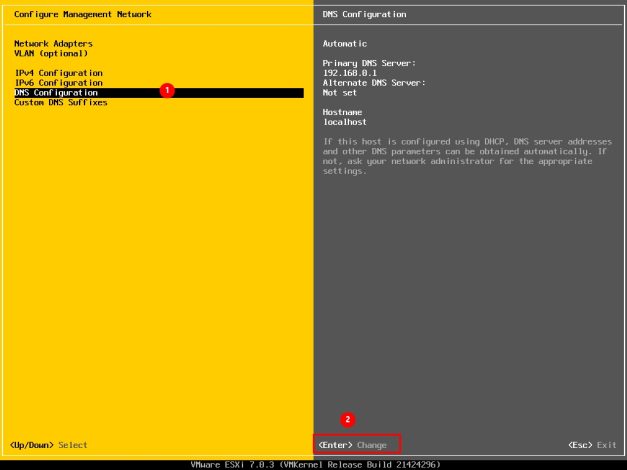
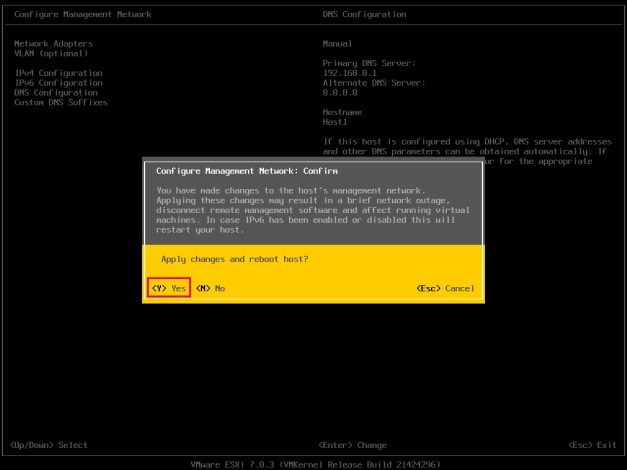
3- To configure DNS and Hostname of the ESXi 7.0
- 1- Use the arrow keys to select DNS Configuration window. and then Press [ENTER]
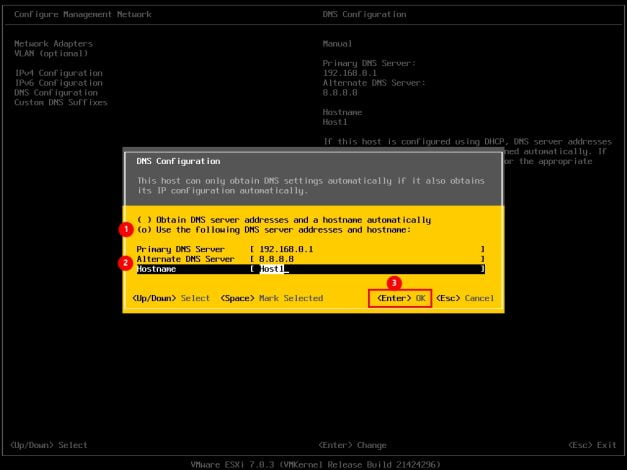
- 2- Use the arrow keys to select Use the following DNS Server address and hostname
- 3- Add the primary and (if available) secondary DNS server address(es) in the respective fields. Set the host name for this ESXi host in the Hostname field
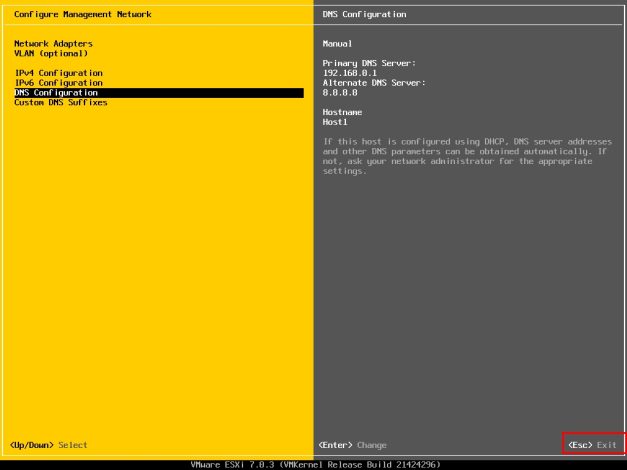
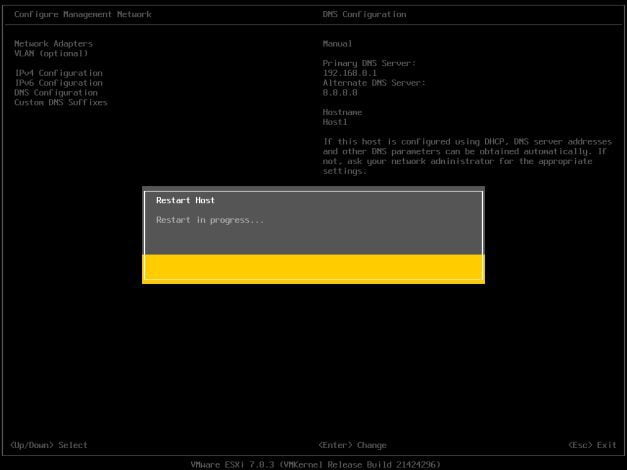
- 4- Press [ENTER] when finished to apply the new management network settings
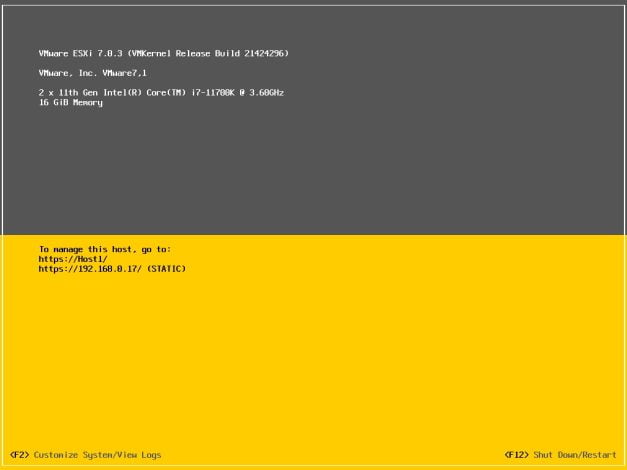
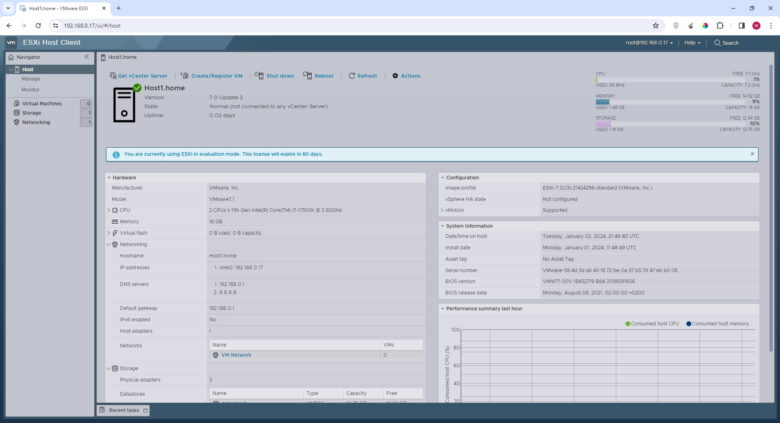
Login using “https://192.168.0.17”
After the installation and configuration of ESXi server 7.0, you can visit the ESXi login screen using the management IP address and the root password from a remote computer. Using this interface you can create and maintain virtual machines.
Thanks for reading and follow us